Diagram Elements in Visily
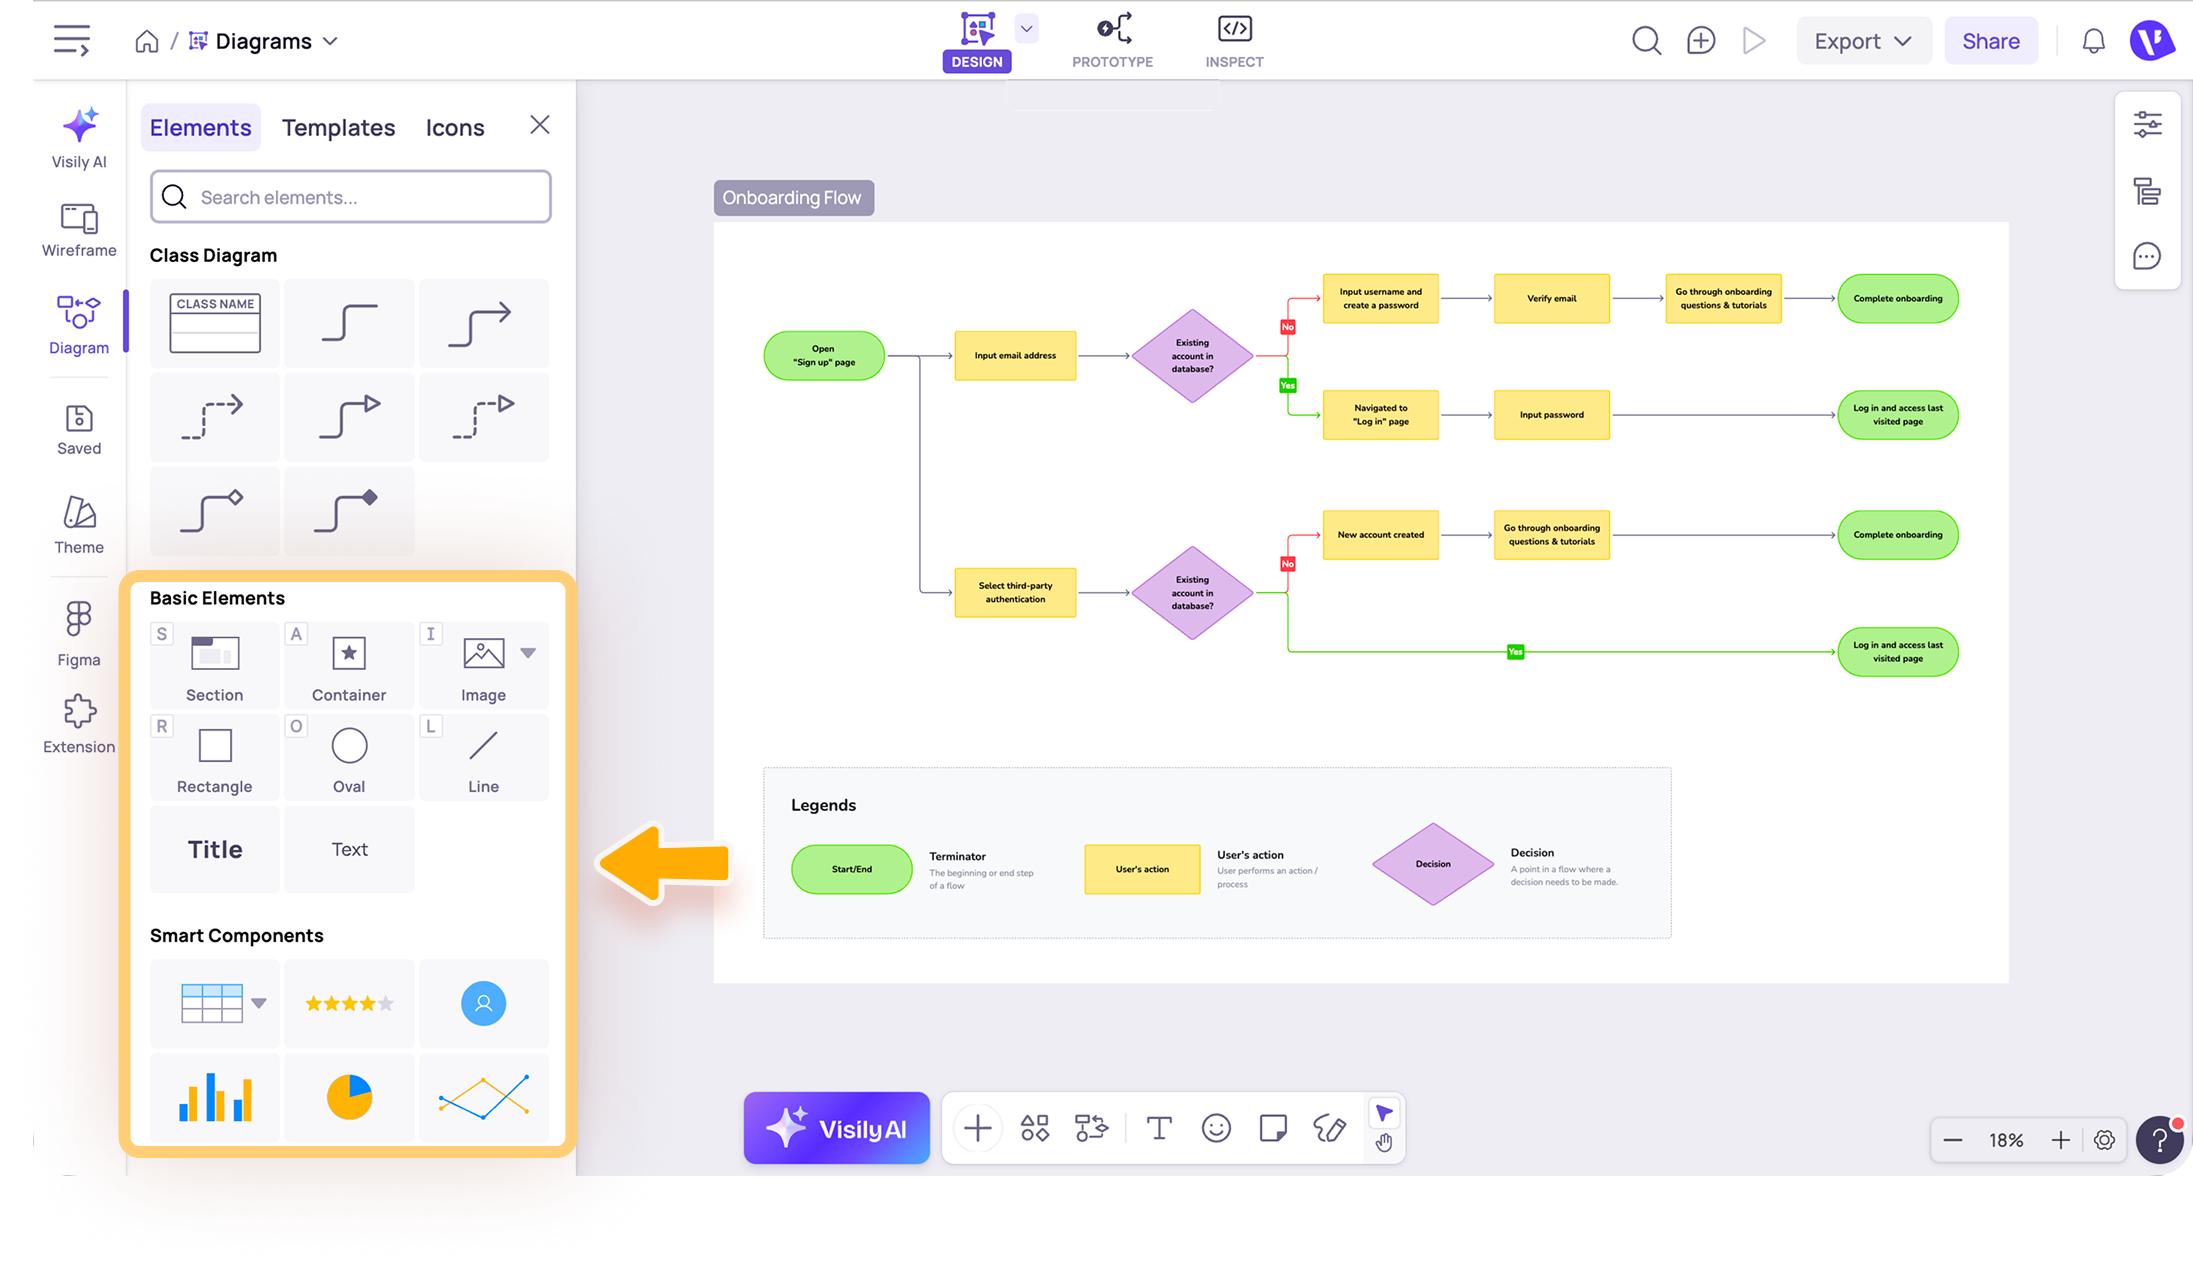
Use diagram elements to brainstorm ideas, map processes, and model structured systems directly on your Visily board. You can build a diagram from individual elements or start with a ready-made template.
Before you start
Make sure you have permission to edit the board and are in design editing mode.
Access the Diagram Library
You can open the full Diagram Library in either of the following ways:
- Open More actions from the bottom toolbar, then select Diagram Library.
- Select Diagram elements from the bottom toolbar, then click View all.
Use the Elements tab to browse diagram elements or the Templates tab to find ready-made diagrams.
Available diagram elements
The Diagram Library provides elements for brainstorming, process mapping, and system modeling.
- Sticky Notes. Use Sticky Notes to capture ideas, add annotations, leave comments, or organize information during brainstorming and collaboration.
- Flowchart elements. Use flowchart shapes to map processes, decisions, and workflows. Available shapes include: Start/End, Input/Output, Process, Decision, Connector, Merge, Extract.
- Use Case Diagram elements. Use these elements to show how users interact with a system and its functions. Available elements include: Actors, Use cases, System boundaries, Association lines.
- Entity Relationship Diagram elements. Use ERD elements to model database entities, attributes, and relationships. Available elements include different entity formats and relationship types for showing database cardinality.
- Class Diagram elements. Use Class Diagram elements to model classes, attributes, methods, and relationships in an object-oriented system. Available elements include class tables and common relationship types such as inheritance, realization, aggregation, composition, and dependency.
Add a diagram element
- Open the board where you want to create a diagram.
- Open Diagram elements from the bottom toolbar or the Diagram Library.
- Select the element you want to use.
- Click the canvas to add it.
- Move, resize, or customize the element as needed.

You can also use Basic Elements and Smart Components to add context and visual detail to your diagrams. For more information, see Wireframe Elements in Visily.
Connect diagram elements
Use connectors to link diagram elements and show relationships, sequences, or flow directions.
Add a connector
You can add connectors in the following ways:
- Select a diagram element to display four connector arrows around it. Then:
- Drag an arrow toward another element to connect them.
- Click an arrow to create a new element in that direction and connect it automatically.
- Hover over a connection point, then click to quickly connect it to a nearby element.
- Press X to add a stand-alone connector.
Customize a connector
Select a connector to open its toolbar. The available actions include:
- Connector type: Switch between straight, elbow, or curved connectors.
- Color: Change the connector color.
- Line style: Adjust the line thickness and dash style.
- Line start and end: Customize the connector endpoints, including arrowheads.
- Add text: Add a label or note directly to the connector.
- Export: Export the connector as an image or PDF, or send it to Figma.
- More actions: Access additional options such as align, arrange layers, copy, duplicate, and delete.
After adding text to a connector, additional text editing options appear in the toolbar, including text styling and Autofill content.
Search for elements
Use the search bar in the Diagram Library to find an element by name. You can search from the Elements, Templates, or Icons tab. Matching results from other tabs appear as highlighted badges, allowing you to find items without manually switching between tabs.
If you cannot find the elements you need from the Diagram Library, you can generate them with AI, search across the libraries, import a design using the Visily browser extension, or import a design from Figma.
Note
- Turn on Grid Mode to help align and snap diagram elements into place.
- Use connectors and labels consistently to make relationships and flows easier to follow.
- New elements added from an existing diagram shape may inherit its current style.
Need more help?
If this does not solve your issue, contact support and include a screenshot if possible.