How to present your prototype
Presentation mode lets you experience your design in full screen, just like a real app. It’s perfect for walking through complete flows, sharing with teammates, or showcasing your ideas.
Before you start
- Switch your board to Prototype mode.
- Make sure your prototype has the screens, flows, or interactions you want to present.
How to open Presentation mode
In Prototype mode of your board, you can open Presentation mode using one of these options:
- The Play button in each Flow tab above the screens
- The Play button next to each flow in the Prototype panel
- The Open presentation option in the More dropdown on the quick preview top bar
- The Play button in the top toolbar of the Prototype panel. This opens a default presentation of the earliest created flow.
- The Play button in the top toolbar of your board
Presentation flow
When you launch Presentation mode, your prototype opens in a new browser tab. During the presentation, you have a set of controls to explore and fine-tune the flow.
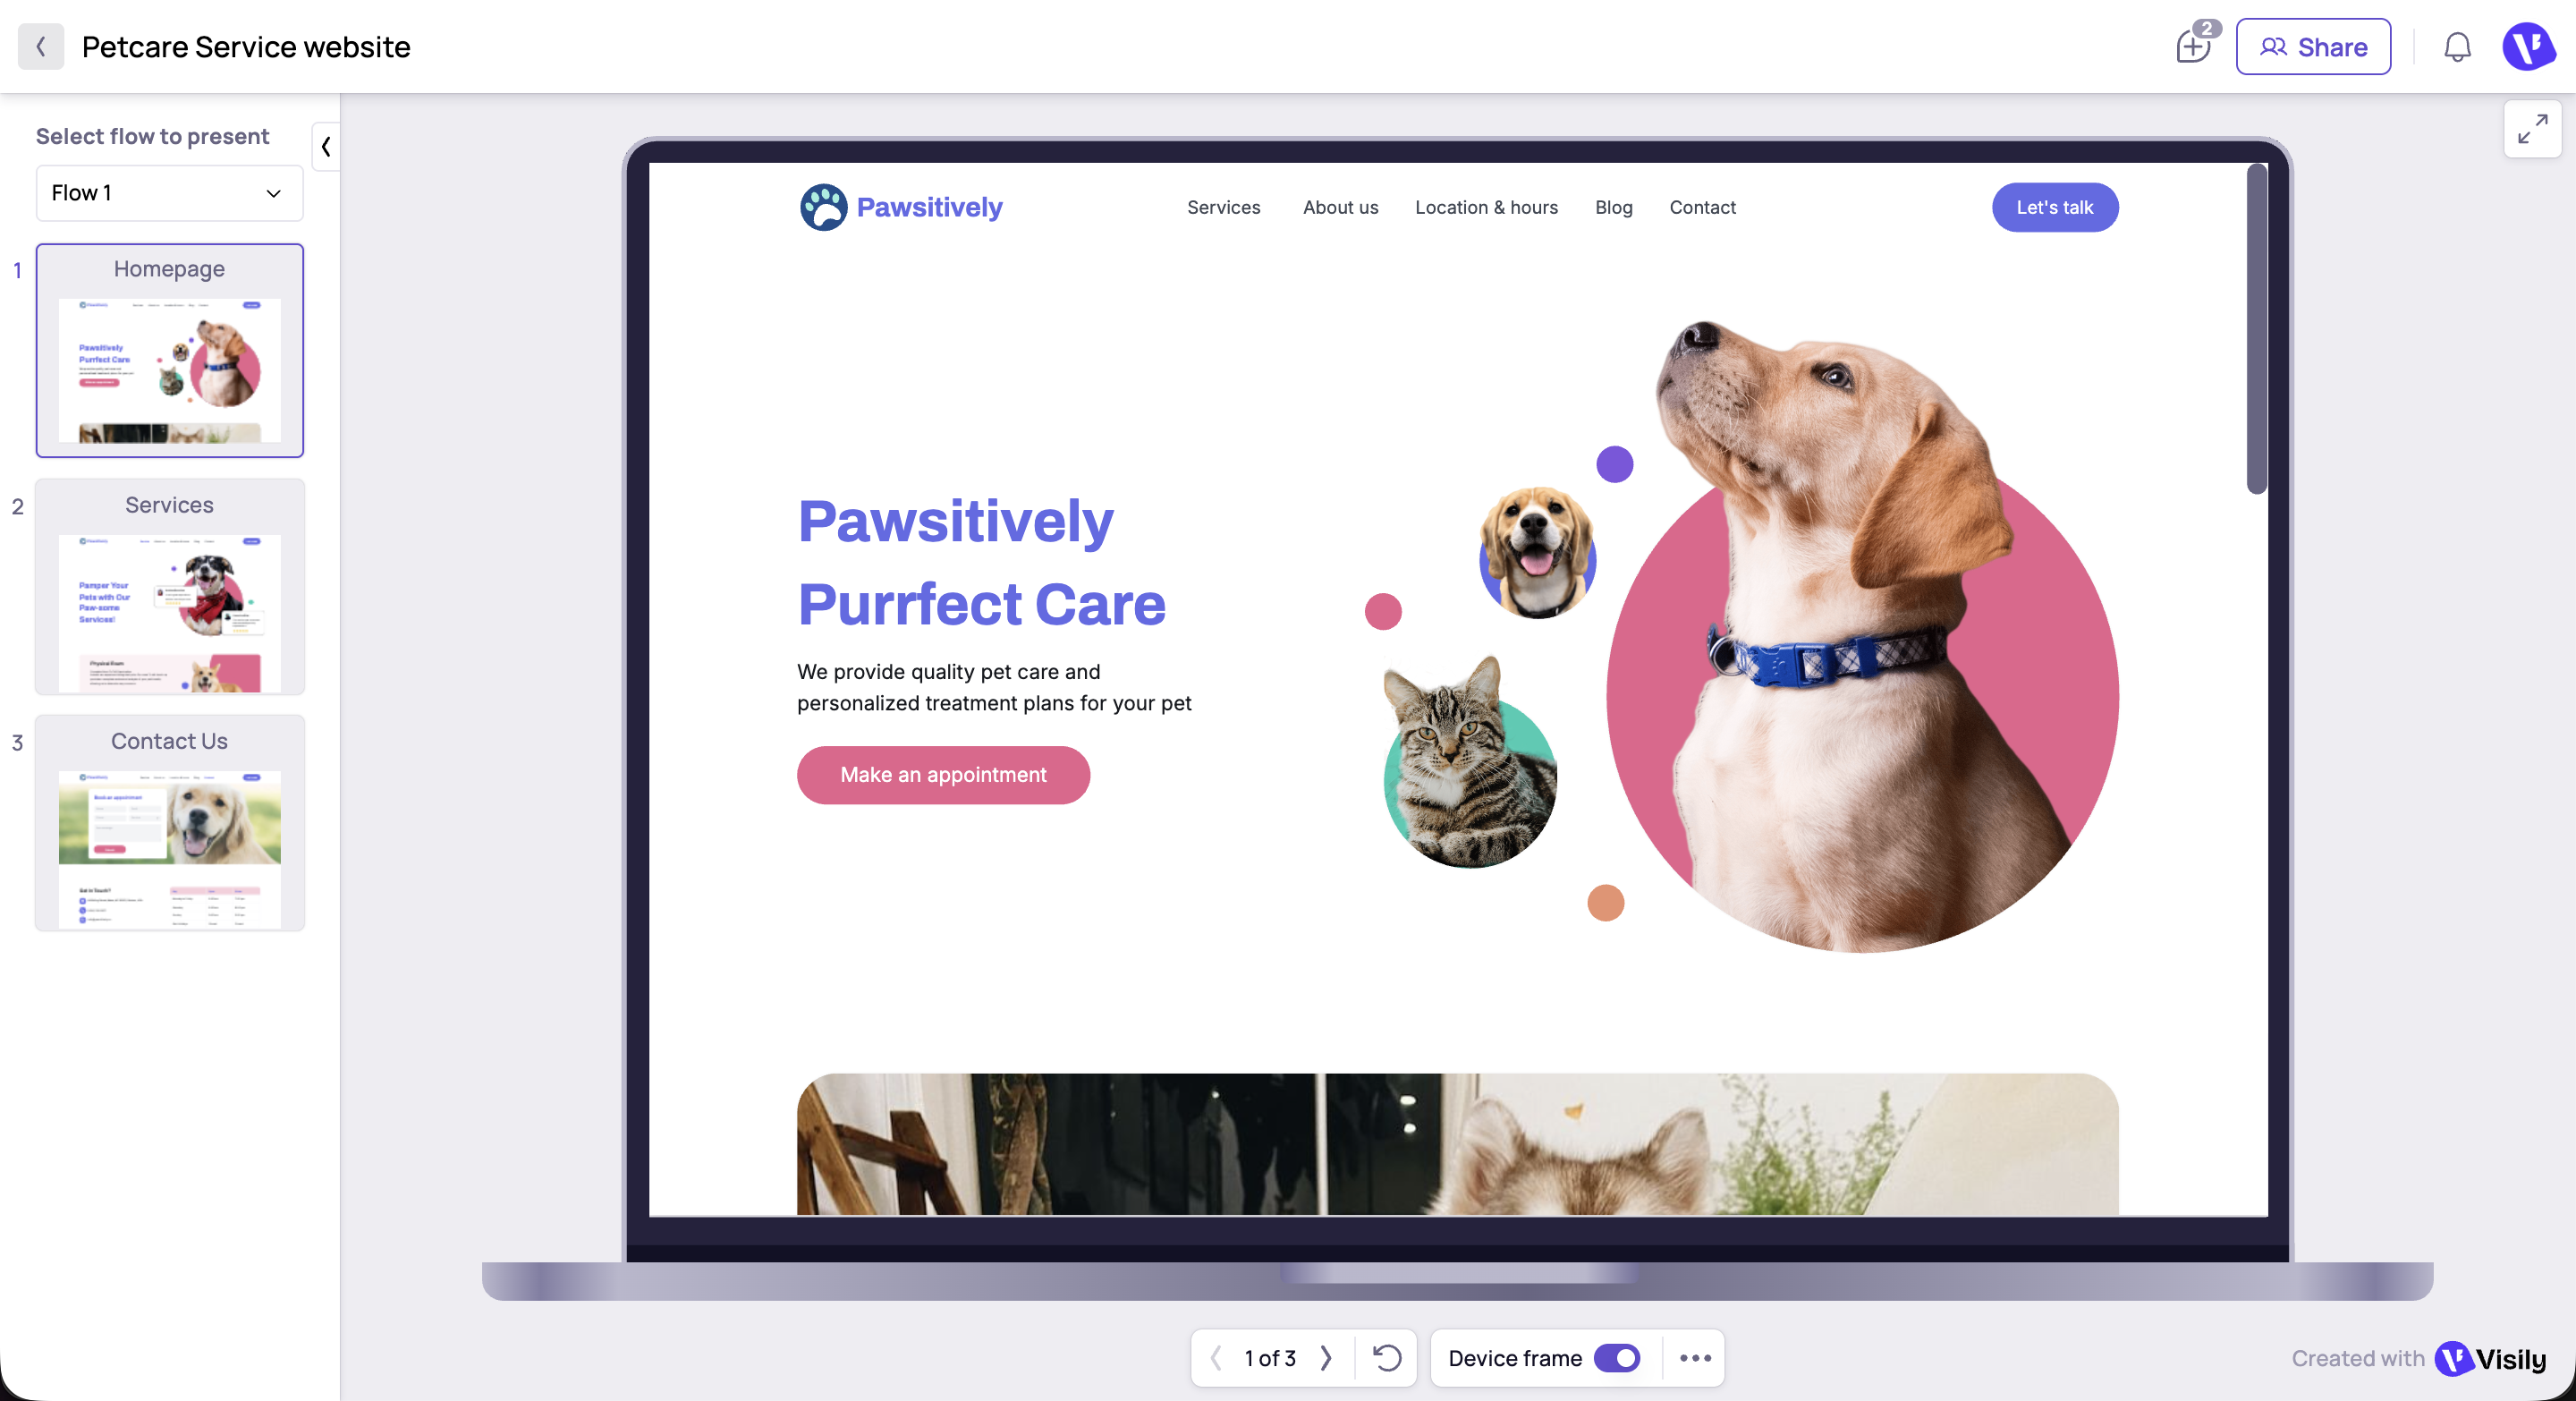
Here’s what you can do:
- Select flow to present: Use the dropdown in the left menu to switch between different prototype flows. You can also choose to present all your screens, even if they belong to different flows.
- Rearrange screens by dragging and dropping them in the screen list on the left panel when presenting all screens.
- Collapse the left panel: Click the collapse icon in the left panel to hide it and expand the preview area.
- Navigate between screens: Move forward and backward through your flow using the left and right arrow buttons, or by pressing the arrow keys on your keyboard.
- Restart the flow: Click the Restart icon to return to the starting point of the current flow, or to the first screen if no flow is defined. You can also press the R key to restart quickly.
- Toggle the device frame:
- Turn on to view your design inside a mock device. The viewport is automatically applied based on your screen width (Desktop/Mobile)
- Turn off the frame to see your design as it originally appears. When turned off, scale controls will appear next to it for more flexible viewing.
- Change background color: Customize the background to better fit your presentation context or simulate different environments.
- Toggle the “change component states when interacted”: When turned on, components will have interactive effects such as hover, pressed, focused, checked, etc.
- Enter full-screen mode
- Click the expand icon in the top-right corner to view your prototype in full screen.
- To exit full-screen mode, press the Esc key or click the Exit full screen button in the top-right corner
- Exit presentation mode: Click the back logo to return to the editor view.

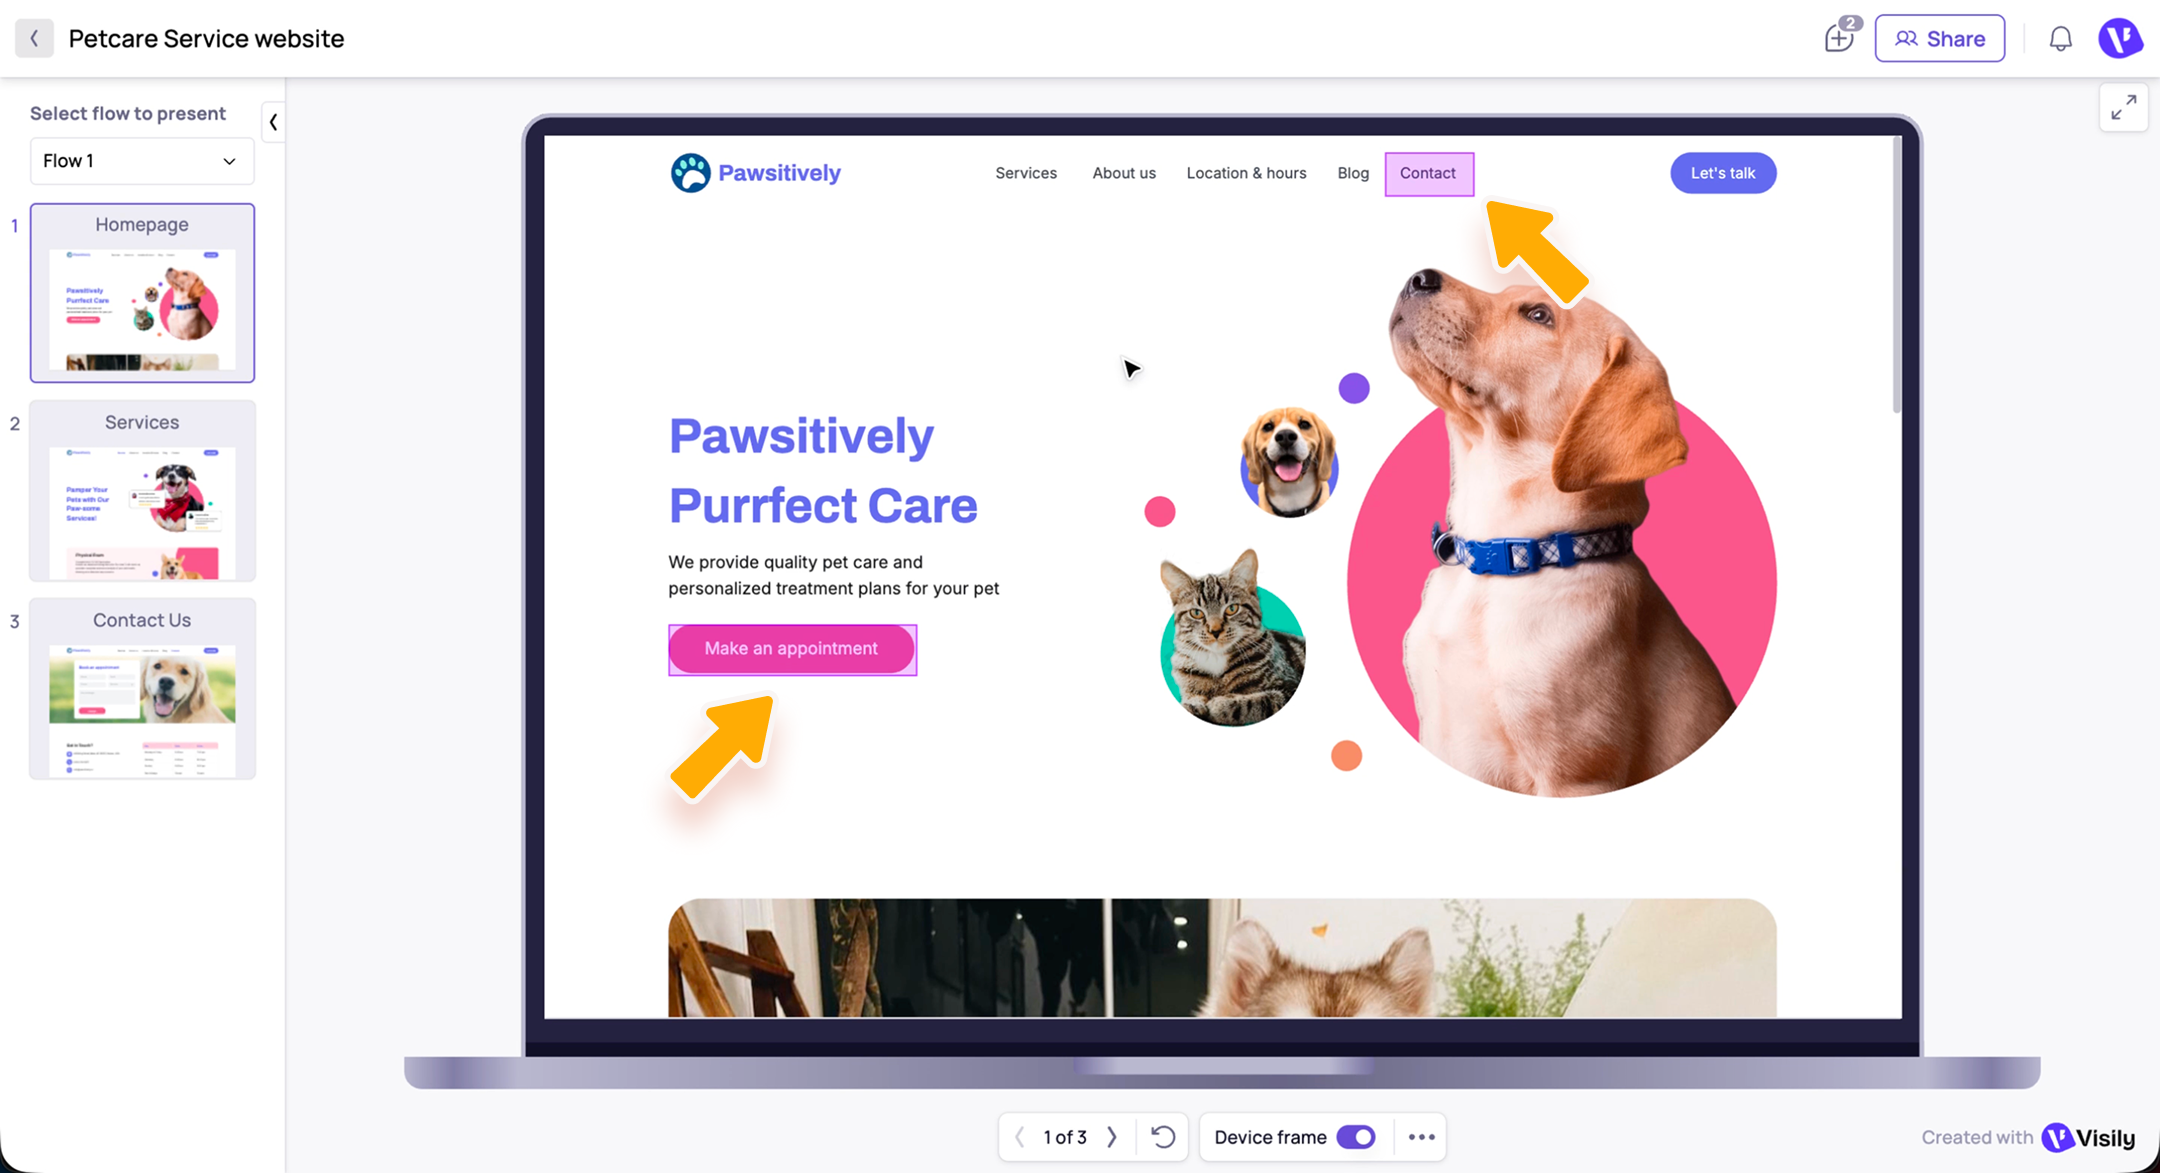
Visily also supports hotspot hints to guide users during interactions. When clicking outside a hotspot, Visily highlights all clickable areas with a pink bounding box.
Share action in presentation mode
You can share your presentation with others using the share dialog in the top-right corner. The link will take invited users directly to the presentation page.
Users with view-only permission can still interact with the prototype using all supported actions in presentation mode, except for rearranging screens.
Comment in presentation mode
- Anyone with access can leave comments during Presentation mode by clicking the comment icon in the top-right menu or pressing C.
- When a comment is added in presentation mode, it’s pinned to the same position on the screen as it appears on the canvas.
- When comments are turned on, you’ll see all comments from both the current presentation screen and the canvas.
Need more help?
If this does not solve your issue, contact support and include a screenshot if possible.
Related Articles
How to use Flows to organize your prototype
A flow in Visily prototype mode is a set of connected screens that represents a specific user journey in your prototype. Use flows to organize prototype paths in your board, such as onboarding, sign-up, checkout, or other user journeys. Before you ...How to access Prototype mode
Visily’s Prototype mode lets you create interactive app flows by connecting screens or elements. You can simulate real user journeys, making your designs feel like a real app, even before development starts. Before you start Make sure your board ...How to create a prototype with AI
Use Create prototype with AI to quickly build an interactive flow from selected screens. Visily automatically connects the screens with interaction links, helping you visualize the user journey faster. Before you start Make sure your board has at ...How to add interactions to a prototype
Prototype interactions let you connect screens or elements and define what happens when users interact with them. Before you start Make sure your board has the screens or elements you want to connect. To add or edit interactions, switch your board to ...How to set up prototype scrolling
Set up prototype scrolling to make screens or containers behave more like real app or website experiences during preview and presentation. Before you start Switch your board to Prototype mode before setting up scrolling. Make sure the content inside ...