How to add interactions to a prototype
Prototype interactions let you connect screens or elements and define what happens when users interact with them.
Before you start
- Make sure your board has the screens or elements you want to connect.
- To add or edit interactions, switch your board to Prototype mode.
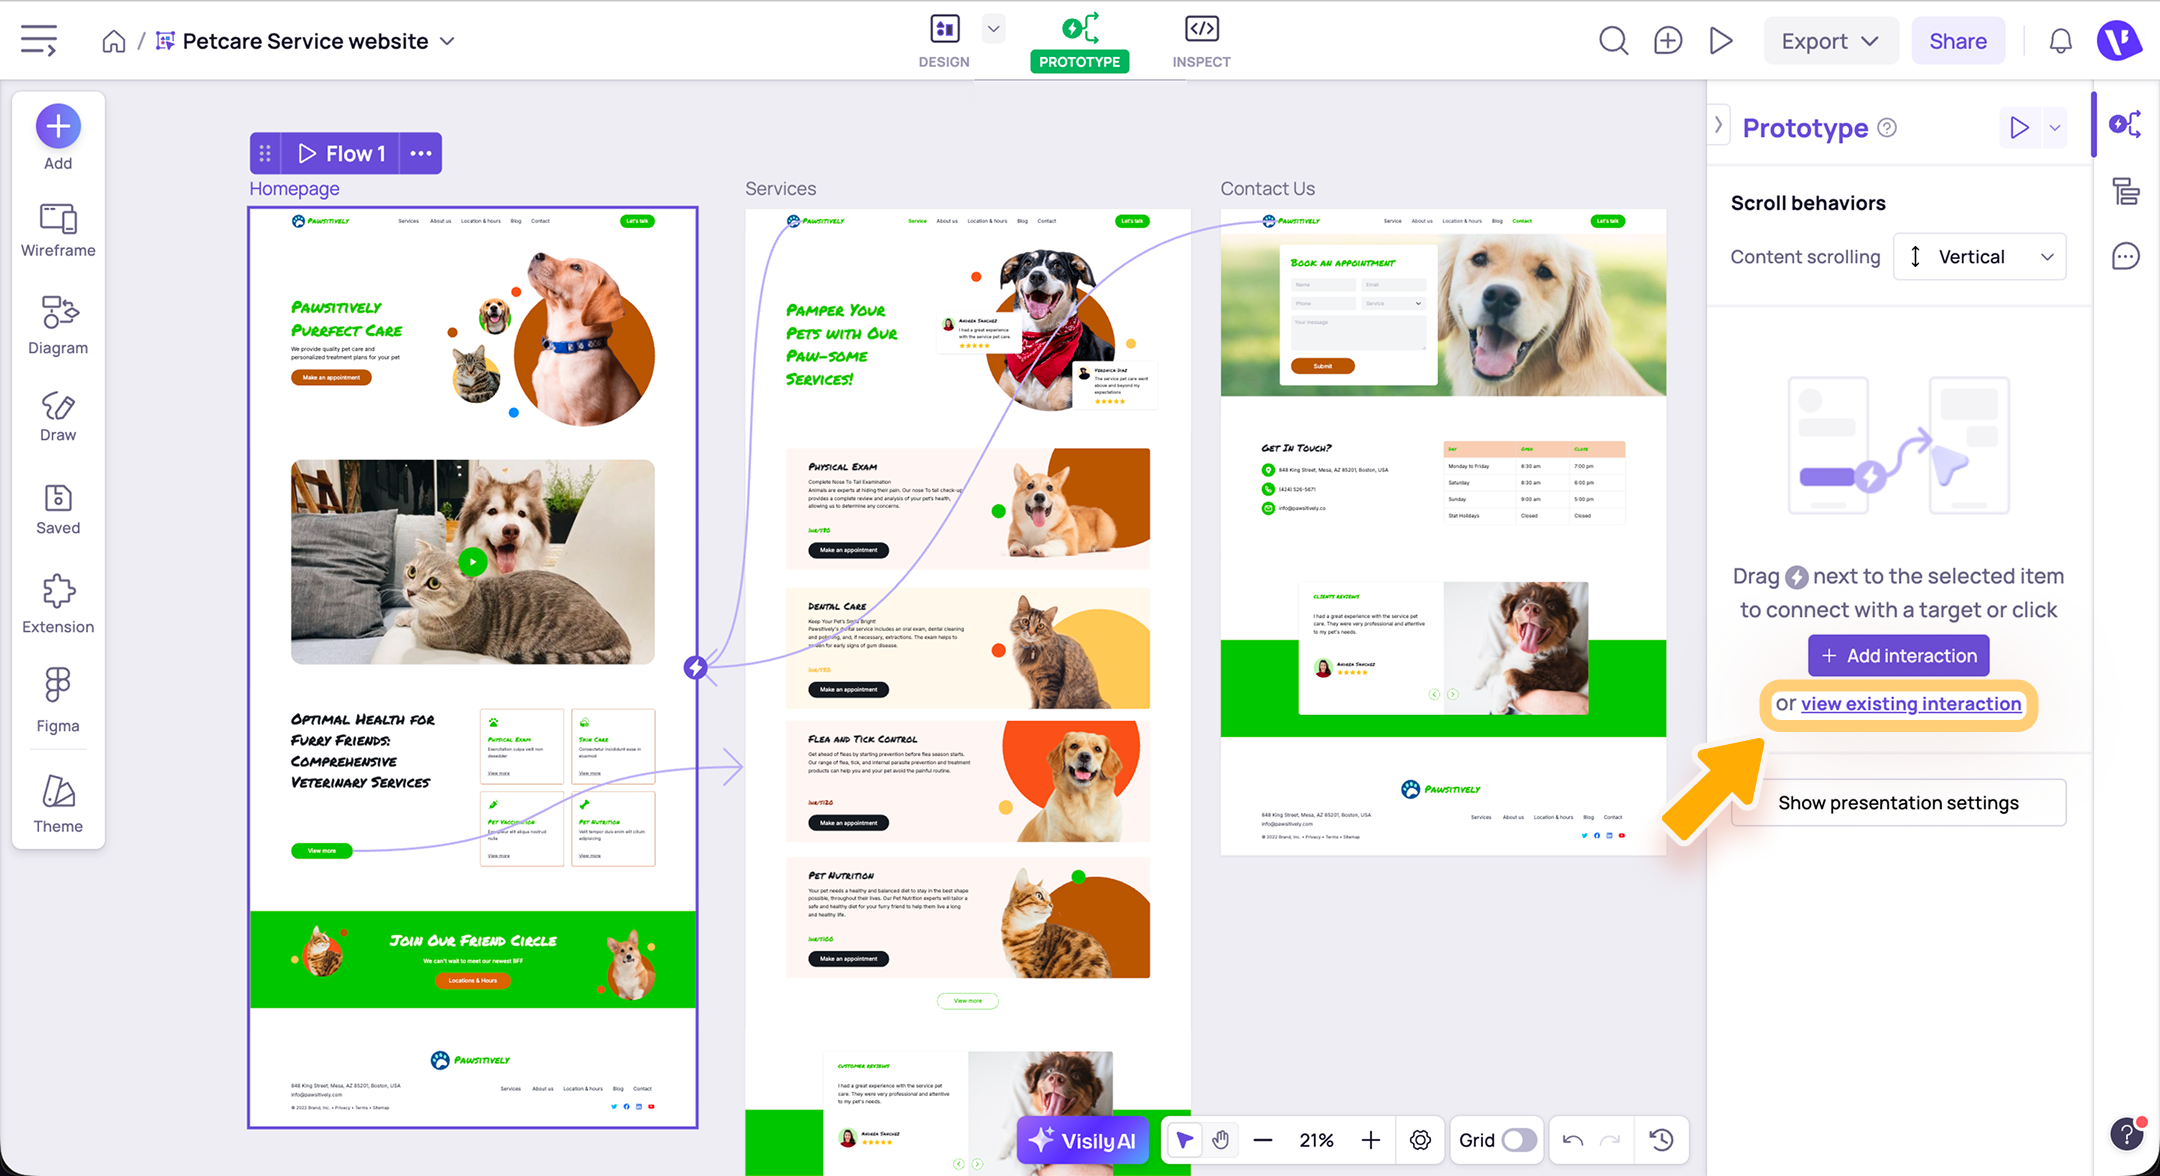
How to add an interaction
When in the Prototype mode, you can add an interaction in either of these ways:
Drag to connect
- Select the screen or element you want users to interact with.
- Drag the connector from the selected screen or element to the target screen or element.
- Configure the interaction settings in the Prototype panel.
Add from the Prototype panel
- Select the screen or element you want users to interact with.
- In the Prototype panel, click Add interaction.
- Choose the trigger and action for the interaction.

Interactions can start from a screen or from an element within a screen. The available settings may vary depending on the trigger and action type you choose.
Configure the interaction
After you add an interaction, you can customize its settings in the Prototype panel. Common settings include:
- Source: The screen or element where the interaction starts.
- Trigger: How the interaction begins, such as when a user clicks, hovers, drags, or uses a keyboard shortcut.
- Action: What happens after the trigger, such as navigating to another screen or opening an overlay.
To edit an existing interaction, select the connection line or the element where the interaction was applied, then update the settings in the Prototype panel.
If the interaction is connected from a screen, select the screen and click View existing interactions to edit it.
Need more help?
If this does not solve your issue, contact support and include a screenshot if possible.
Related Articles
How to access Prototype mode
Visily’s Prototype mode lets you create interactive app flows by connecting screens or elements. You can simulate real user journeys, making your designs feel like a real app, even before development starts. Before you start Make sure your board ...How to create a prototype with AI
Use Create prototype with AI to quickly build an interactive flow from selected screens. Visily automatically connects the screens with interaction links, helping you visualize the user journey faster. Before you start Make sure your board has at ...How to present your prototype
Presentation mode lets you experience your design in full screen, just like a real app. It’s perfect for walking through complete flows, sharing with teammates, or showcasing your ideas. Before you start Switch your board to Prototype mode. Make sure ...How to use Flows to organize your prototype
A flow in Visily prototype mode is a set of connected screens that represents a specific user journey in your prototype. Use flows to organize prototype paths in your board, such as onboarding, sign-up, checkout, or other user journeys. Before you ...How to use Quick Preview to review your prototype
Use Quick Preview to test your prototype directly on the canvas as you design. It’s useful for quick checks and fast edits, with live sync reflecting your changes immediately. Before you start Switch your board to Prototype mode. Make sure your ...